|
|
|
|
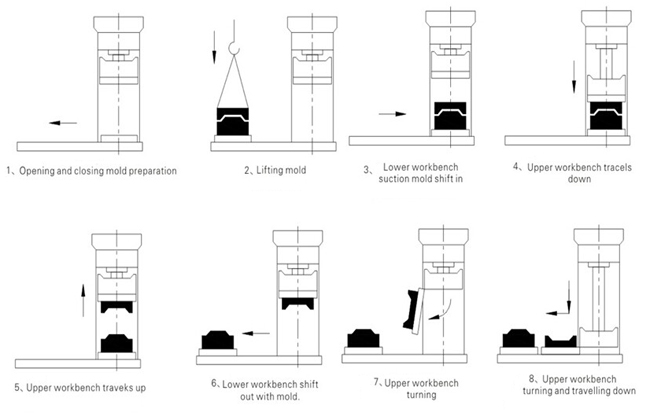
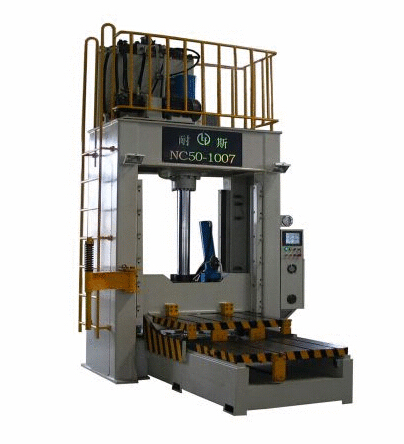
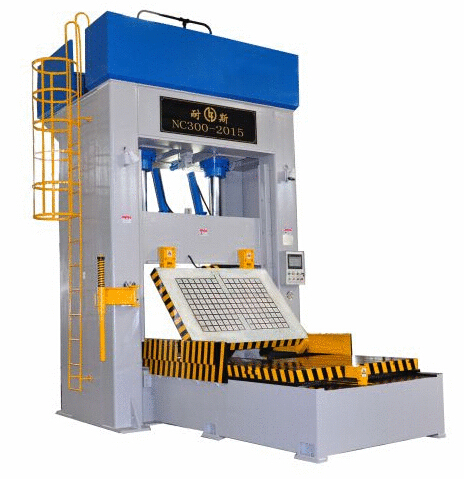
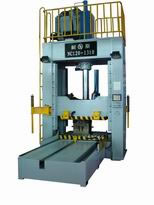
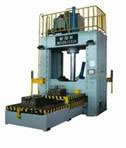
1. Move out the lower working bench and lift up the mold and place it in the center of the lower working bench (as shown in the right diagram).
|
|
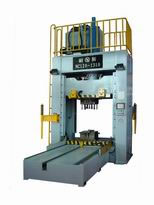
2. Move the lower working bench back to the rack (as shown in the right diagram).
|
|
|
|
|
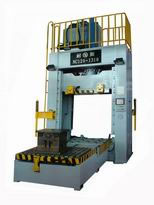
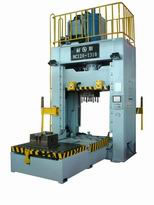
3. Lower the slide platform and the upper working bench to the upper surface of mold and use clamp (magnetizing is only need for magnetic type) to fix the upper and counter die at the upper working bench and lower working bench respectively (as shown in the right diagram).
|
|
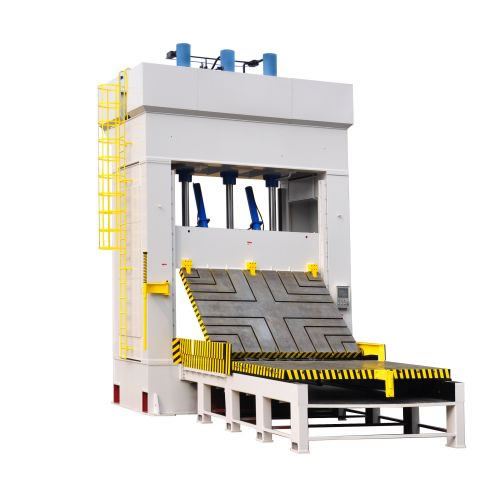
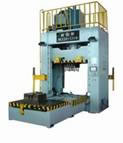
4. Raise the slide platform and upper working bench and open the mold (As shown in the right diagram).
|
|
|

|
|
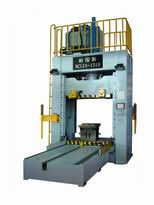
5. Move the lower working bench out and red lead may be at this moment (as shown in the right diagram).
|
|
6. Move back the mold with prepared red lead to the rack, lower the upper working bench. Increase the pressure according to the selected pressure after closing the mold. Two times of pressurization is suitable generally (as shown in the right diagram).
|
|
|
|
|
7. After pressurization is completed, the upper working bench rises and the lower working bench moves out (as shown in the right diagram).
|
|
8. When the sliding platform and lower working bench move downwards, the upper working bench rotates 180°. The upper die upturns. Mold can be repaired according to the location of red lead. Repeat the above operation until the mold is repaired (as shown in the right diagram).
|
|
|
|
|
|
9. After the mold is repaired, move it to the rack and lower the upper platform. After slight pressurization, dismantle the fixing screw of the mold (demagnetization should be performed for the magnetic type). The upper platform rises and the lower platform moves out. Lift the mold away (as shown in the right diagram).
|